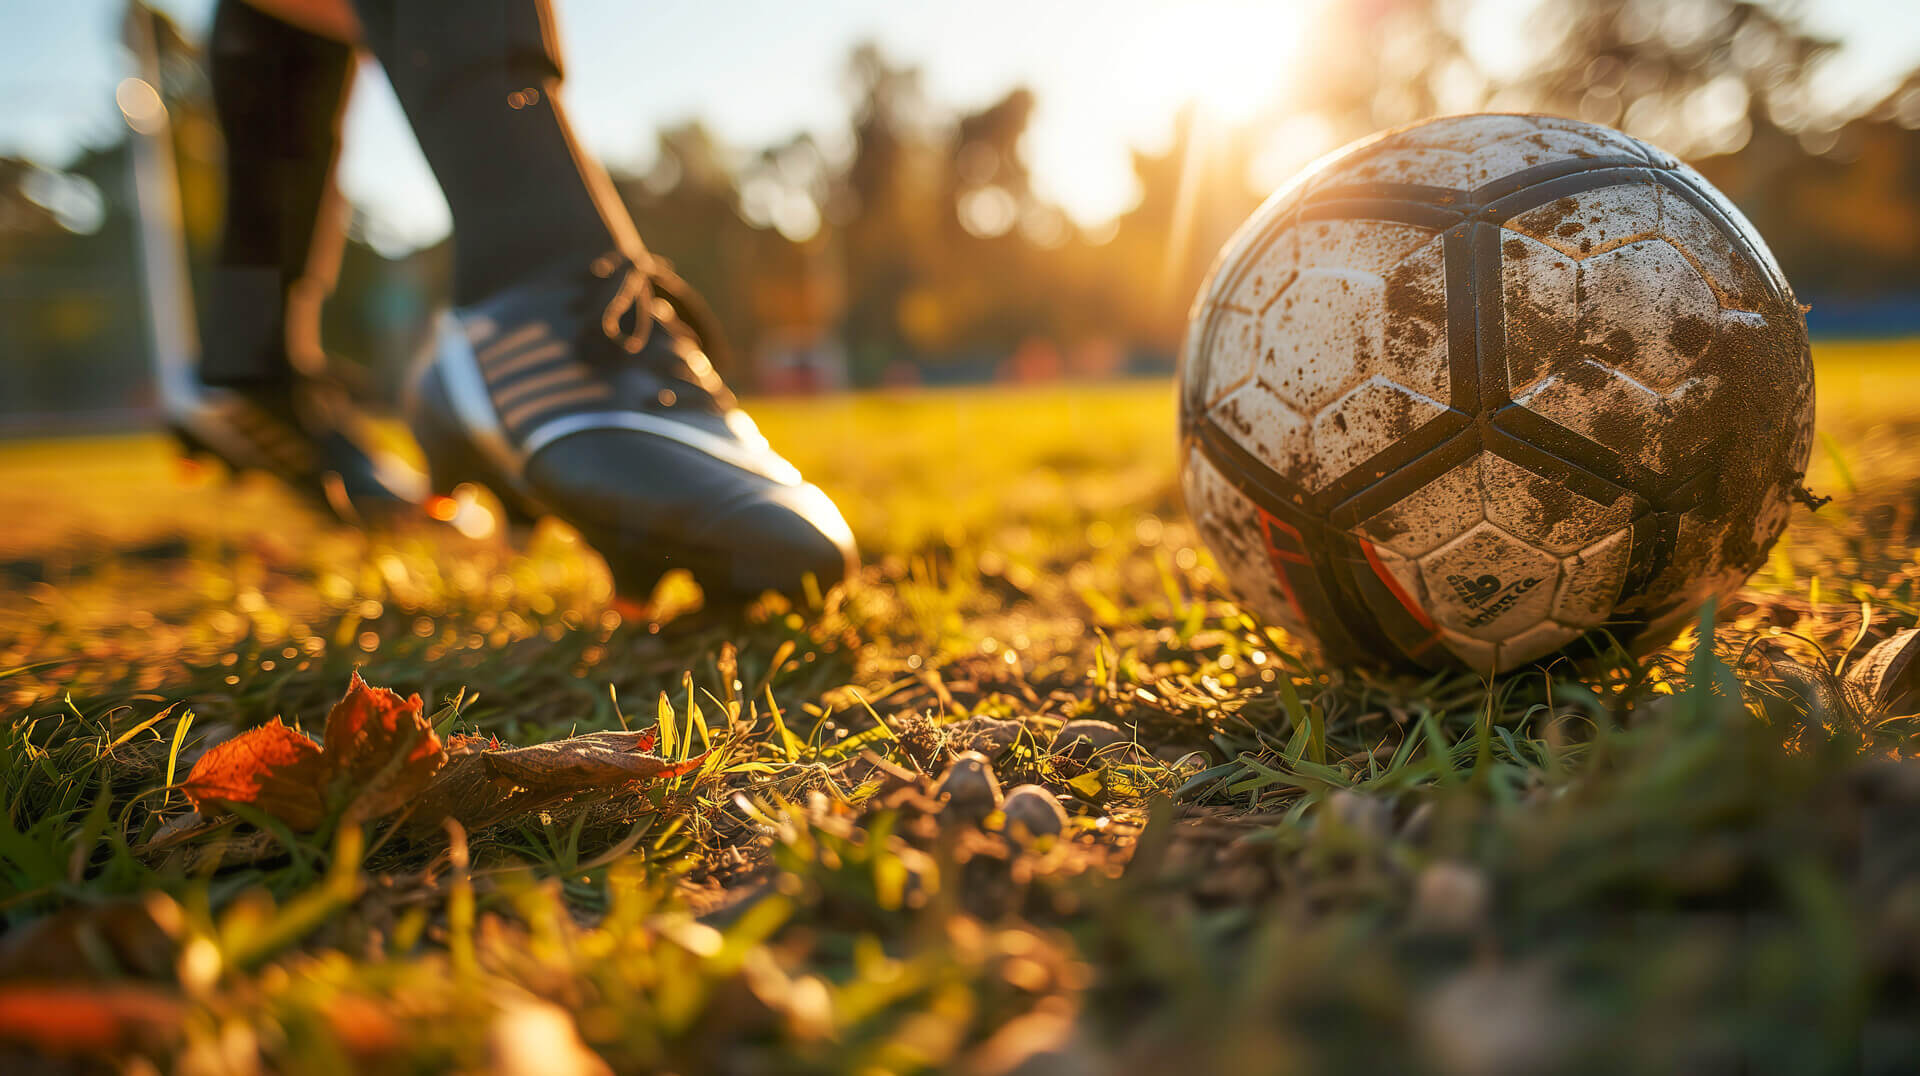
Soccer cleats are more than just footwear – they are an essential tool for your performance on the field. Proper care and maintenance can help extend their lifespan and keep them in great shape. Whether you’re gearing up for practice or winding down after a game, here’s a few tips to take care of your soccer cleats.
What to Pack for Soccer Cleat Care
Most things in life are about preparation – this is also true for soccer cleat care! Get a large Ziplock bag or plastic shopping bag and put a couple popsicle sticks or toothbrush and an old hand towel inside. This will help you care for your cleats after soccer practice and games (more on this later).
Before Soccer Practice and Games
Avoid wearing your cleats to soccer practice or games. Walking on hard surfaces like concrete or asphalt can cause unnecessary wear on your cleats. In addition, wearing cleats on hard surfaces can cause you to slip and fall. Wear a pair of soccer slides with your socks and shin guards instead. Once you get to the field, put your cleats on and lace them up so you are ready to go!
After Soccer Practice and Games
Take off your cleats by unlacing them instead of stepping on the heels to slide them off. Put on your soccer slides so that your feet air out and then inspect your cleats. If they have excessive mud or grass stuck on the bottom, use a popsicle stick or toothbrush to remove the clumps. Next, use the old hand towel to wipe off mud or excess moisture. Put them in your soccer bag and head home.
Once home, let them air out in a cool, dry place. If there is dry mud on them, take them outside and clap the bottoms together to remove excess dirt. If the insides are excessively wet or sweaty, scrunch old newspaper inside to help them dry out. Once dry, put them in the plastic bag inside your soccer bag but do not seal the plastic bag.
Thoroughly Cleaning Your Soccer Cleats
Soccer games are often played on wet and muddy fields making deeper cleat cleaning necessary. If your cleats are caked in mud or difficult to lace up due to excessive dirt, they require thorough cleaning. Follow these steps and please do not put your cleats in the washing machine, submerge them in water, or use hot water. This could cause cracks after they dry. Also, avoid using your dryer or hair dryer to expedite drying time as this can also damage your cleats.
- Start by removing the insoles and laces (if they are removable). These can be washed in a bowl or sink with soap and water. Let them air dry completely before putting them back in your cleats.
- Mix cool water and a drop of hand or dish soap in a bowl. Dip a soft bristled brush into the soapy water and scrub the upper outside of your cleats as needed (i.e. avoid the bottoms during this step). Wipe off with a damp cloth.
- Repeat the above step on the bottom of your cleats. Wipe the entire cleat off with a dry towel to remove moisture.
- Set them on a towel to dry. If the insides are wet, stuff them with newspaper to help soak up the extra moisture.
- Once completely dry, put your clean and dry insoles and laces back into your cleats.

